Close your eyes and imagine biting into a dense, fudgy center that melts on your tongue, followed by the satisfying crunch of gourmet toppings. There is nothing quite like the rich, dark aroma of chocolate wafting through the house to bring the family running to the kitchen.
Hate turning on the oven for a massive baking project that leaves you with dozens of dishes?
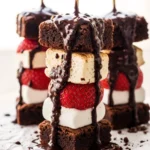
These Topped Fudge Brownie Bites are the ultimate solution.
They are perfectly portioned, incredibly quick to bake, and customizable enough to satisfy even the pickiest eaters. Whether it’s for a last-minute school bake sale or a late-night craving, these little gems deliver maximum chocolate satisfaction with minimal cleanup.
At-A-Glance
- Dietary: Vegetarian, Nut-Free (optional)
- Time: 25 Minutes
- Difficulty: Easy
- Cost per serving: $0.45
Why This Recipe Works
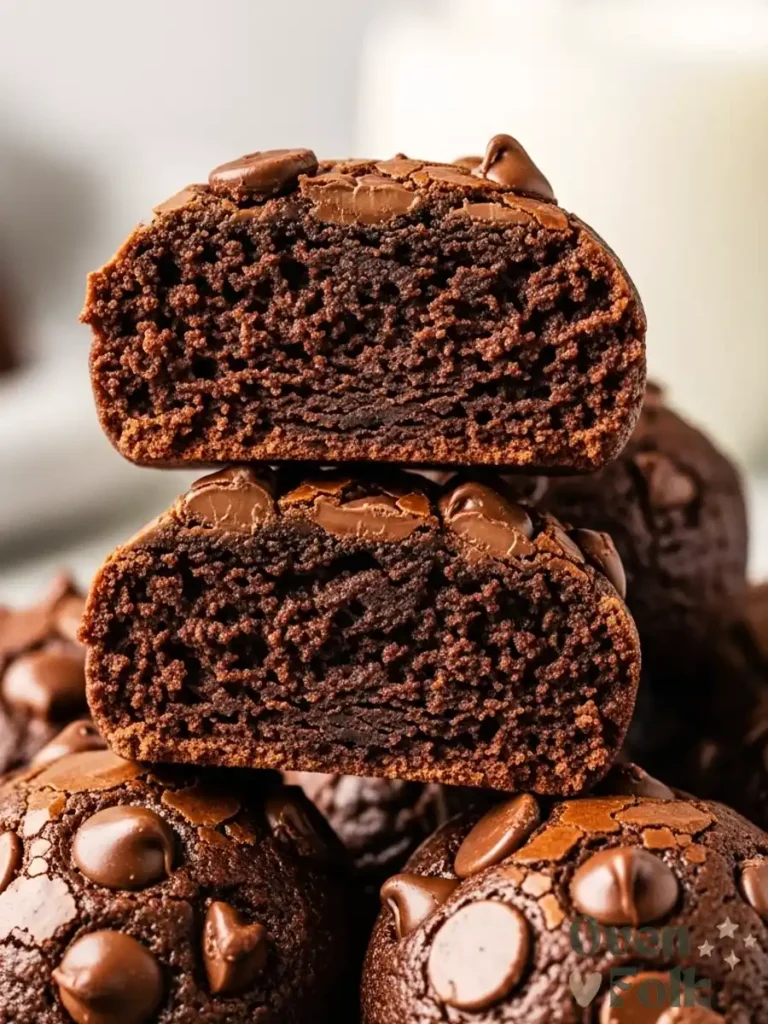
Most brownie recipes rely on chemical leaveners, but this recipe works by focusing on the ratio of fat to flour. By using a high proportion of melted butter and Dutch-processed cocoa, we achieve that signature ‘fudge’ texture that is dense and moist rather than cakey.
Using a mini-muffin tin isn’t just about cuteness—it increases the surface area of the brownies. This gives you more of those slightly chewy edges that everyone loves.
The ‘topped’ element is added in the last two minutes of baking. This technique allows toppings like pretzels or chocolate chips to adhere perfectly without sinking to the bottom or burning.
Key Ingredients & Notes
- 1/2 cup (115g) Unsalted Butter: Provides the richness needed for a fudgy texture.
- Chef’s Tip: Do not use margarine or tub spreads; their water content is too high and will make the brownies cakey instead of fudgy.
- 1 cup (200g) Granulated Sugar: Sugar does more than sweeten; it helps create that shiny, crackly top.
- Chef’s Tip: Whisk the sugar and eggs vigorously to dissolve the crystals for a smoother finish.
- 1/3 cup (30g) Dutch-Process Cocoa Powder: Offers a deeper, smoother chocolate flavor than natural cocoa.
- Chef’s Tip: Sift the cocoa to remove lumps for a velvety batter.
- 2 Large Eggs: These act as the binder and provide structure.
- Chef’s Tip: Use room temperature eggs for a more even emulsion.
- 1/2 cup (65g) All-Purpose Flour: Just enough to hold everything together.
- Chef’s Tip: Do not overmix once you add the flour, or the brownies will become tough.
Step-by-Step Instructions
- Mix Butter and Sugar: Whisk together the melted butter and granulated sugar in a large bowl. You need to whisk vigorously for 2 full minutes until the mixture lightens in color. This helps create that signature “crackly” top!
- Add Wet Ingredients: Add the eggs one at a time, beating well after each addition until the mixture looks thick and glossy.
- Add Dry Ingredients: Sift in the cocoa powder, flour, and a pinch of salt. Sifting is non-negotiable here to avoid little lumps of cocoa. Fold everything together gently with a spatula just until the flour disappears.
- The “No-Mess” Scoop: Do not try to use a spoon; it’s too messy. Use a small cookie scoop (#50) to drop the perfect amount of batter into your greased mini-muffin tin, filling each about 3/4 full. This keeps the edges of the pan clean so the brownies don’t burn.
- Bake & Top: Bake at 350°F for 10 minutes. Remove the pan briefly, gently press your toppings (pretzels, marshmallows, nuts) into the soft tops, and return to the oven for 2 more minutes. This acts as a glue so the toppings don’t fall off!
Expert Tips

Prevent Sticking:
To ensure your brownie bites don’t stick, use a high-quality non-stick spray or lightly grease the tin with butter and a dusting of cocoa powder.
Testing for Doneness:
If you find your brownies are too ‘dry,’ you likely overbaked them—pull them out when a toothpick comes out with a few moist crumbs attached.
Variations & Substitutions
- Gluten-Free: For a Gluten-Free version, use a 1:1 gluten-free baking flour blend.
- Go Keto: If you want to go ‘Keto,’ replace the sugar with an erythritol-based sweetener and use almond flour.
- Seasonal Swaps: You can also swap the toppings for crushed candy canes during the holidays or colorful sprinkles for birthdays!
FAQ
How do I get the tops shiny?
The secret is in the sugar and egg reaction. Be sure to whisk the sugar into the melted butter and eggs for at least 2 minutes until the mixture lightens in color.
Can I make these in a regular muffin tin?
Yes, but you will need to increase the baking time to about 18-20 minutes.
How long do they stay fresh?
These stay fudgy for up to 4 days if kept in an airtight container at room temperature, or you can freeze them for up to 3 months.
Recipe updated in 2026 to reflect the most accurate timing and additional insights.