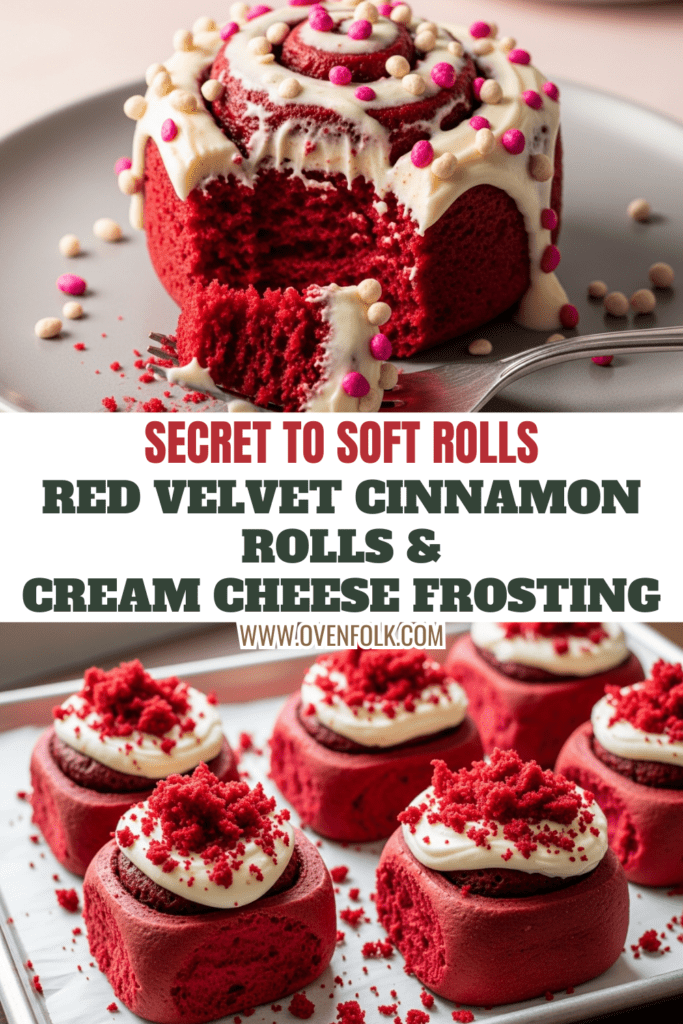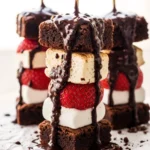
Imagine waking up to the smell of warm cocoa and sweet cinnamon swirling through your home. You pull a pan of vibrant, ruby-red rolls from the oven, their edges slightly crisp while the centers remain impossibly soft.
I know your mornings are usually a blur of coffee refills and school bags, so I designed these Ultimate Red Velvet Cinnamon Rolls with Cream Cheese Frosting to be the show-stopping win you deserve. We skip the dry, bready texture of store-bought rolls for a velvety, cloud-like crumb that melts the moment it hits your tongue. These aren’t just breakfast; they are a decadent hug in a pan.
- Dietary: Vegetarian
- Time: 3 Hours (Mostly rising time!)
- Difficulty: Intermediate
- Cost per Serving: Approx. $1.25
Why This Recipe Works
The secret to that professional bakery texture lies in a simple Japanese technique called Tangzhong. By cooking a small portion of flour and water into a paste before mixing the dough, we pre-gelatinize the starches. This allows the dough to hold more moisture without becoming sticky, resulting in rolls that stay soft for days.
I’ve also swapped standard milk for a homemade buttermilk-style mixture using vinegar and heavy cream. The acidity reacts with the cocoa powder to deepen that iconic red hue and tenderize the gluten, giving you that signature “velvet” mouthfeel that sets this recipe apart from a standard cinnamon roll.
Key Ingredients & Notes
- Bread Flour: High protein content creates the chewy structure needed to hold those beautiful swirls.
- Tangzhong (Flour/Water Paste): This is your insurance policy against dry, stale rolls.
- Red Gel Food Coloring: Chef’s Tip: Use gel, not liquid. Liquid coloring can throw off your hydration levels and won’t give you that vivid pop.
- Vanilla Bean Paste: Those tiny black specks add a gourmet floral note that regular extract lacks.
- Room Temp Everything: Chef’s Tip: Ensure your egg and butter aren’t cold to prevent the dough from seizing during the knead.
Step-by-Step Instructions
Whisk the water and a quarter-cup of flour in a small saucepan over medium heat. Keep it moving for about 4 or 5 minutes until it forms a thick, translucent paste. Set this Tangzhong aside to cool slightly.
Combine your milk, heavy cream, and vinegar in a small bowl. Don’t worry if it looks slightly curdled; that’s the acidity we want for the red velvet reaction.
Mix your dry dough ingredients—the remaining flour, sugar, cocoa, yeast, and salt—directly in your stand mixer bowl. Once combined, pour in the milk mixture, egg, vanilla, your cooled Tangzhong, and that vibrant red gel. Knead on low for 2 minutes just to bring it together.
Incorporate the cool room-temperature butter one tablespoon at a time. Once it’s all in, crank the mixer to medium and let it work for 8 to 10 minutes. You’re looking for a smooth, elastic dough that clears the sides of the bowl.
Shape the dough into a smooth ball, tuck it into a greased bowl, and cover it tightly. Let it rest in a warm spot for about 30 minutes to relax the gluten.
Blend your filling ingredients—butter, brown sugar, cinnamon, cocoa, and vanilla paste—until you have a spreadable, dark chocolate-scented paste. Roll your rested dough out on a lightly floured surface into a large 15×21-inch rectangle. Spread that filling all the way to the edges.
Cut the dough into twelve even strips and roll them up snugly. Nestle them into a parchment-lined 9×13 pan. Cover and let them rise in a warm, draft-free spot for 1 to 2 hours until they look puffy and doubled in size.
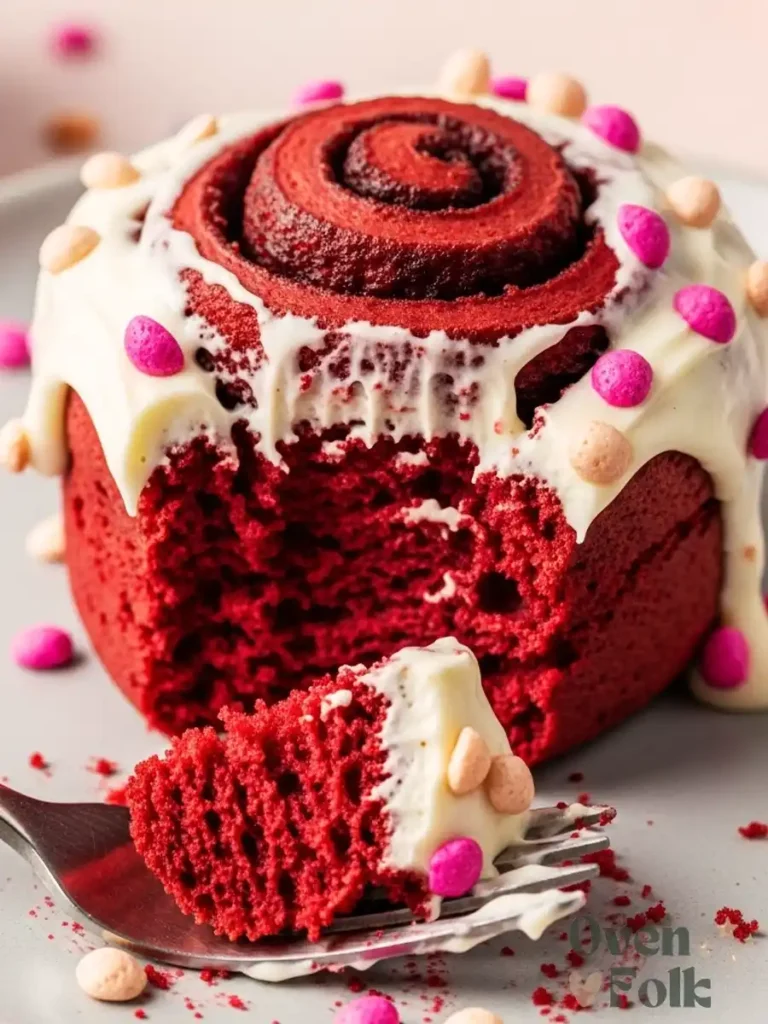
Bake at 325°F (162°C) for 28 to 35 minutes. You want an internal temp of 175°F for that perfect “just-done” center. While they bake, whip your cream cheese, butter, powdered sugar, and vanilla into a fluffy, cloud-like frosting.
Cool the rolls for exactly 15 minutes before slathering on the frosting. This allows the frosting to melt slightly into the crevices without running off completely.
Expert Tips
The Floss Trick: For perfectly clean spirals without squishing the dough, use a piece of unflavored dental floss. Slide it under the rolled log, cross it over the top, and pull quickly to snap through the dough cleanly.
The Proofing Hack: If your house is chilly, place your rolls in the oven (turned off!) next to a large bowl of steaming hot water. The steam creates the perfect warm, humid environment for a fast, high rise.
Variations & Substitutions
- The Overnight Method: Want fresh rolls without the early wake-up call? After rolling and placing them in the pan, cover and refrigerate for up to 12 hours. Let them sit on the counter for 45 minutes before baking.
- Chocolate Chip Surprise: Sprinkle a half-cup of mini semi-sweet chocolate chips over the cinnamon filling before rolling for extra decadence.
- Dairy-Free Swap: Use high-quality vegan butter sticks and a thick almond milk yogurt in place of the cream cheese for a plant-based twist.
Frequently Asked Questions
Bread flour has a higher protein content, which creates more gluten. This gives the rolls the strength to rise tall and stay chewy rather than becoming cakey or crumbly.
This usually comes down to the cocoa powder. If you use Dutch-processed cocoa, the acidity is neutralized and it stays darker. Use a standard natural cocoa powder and high-quality gel food coloring for that brilliant crimson shade.
Absolutely! Wrap individual frosted rolls in plastic wrap and foil. To reheat, microwave for 30-45 seconds. They taste just as fresh as the day you made them.
Recipe updated in 2026 to reflect the most accurate timing and additional insights.