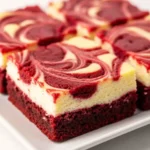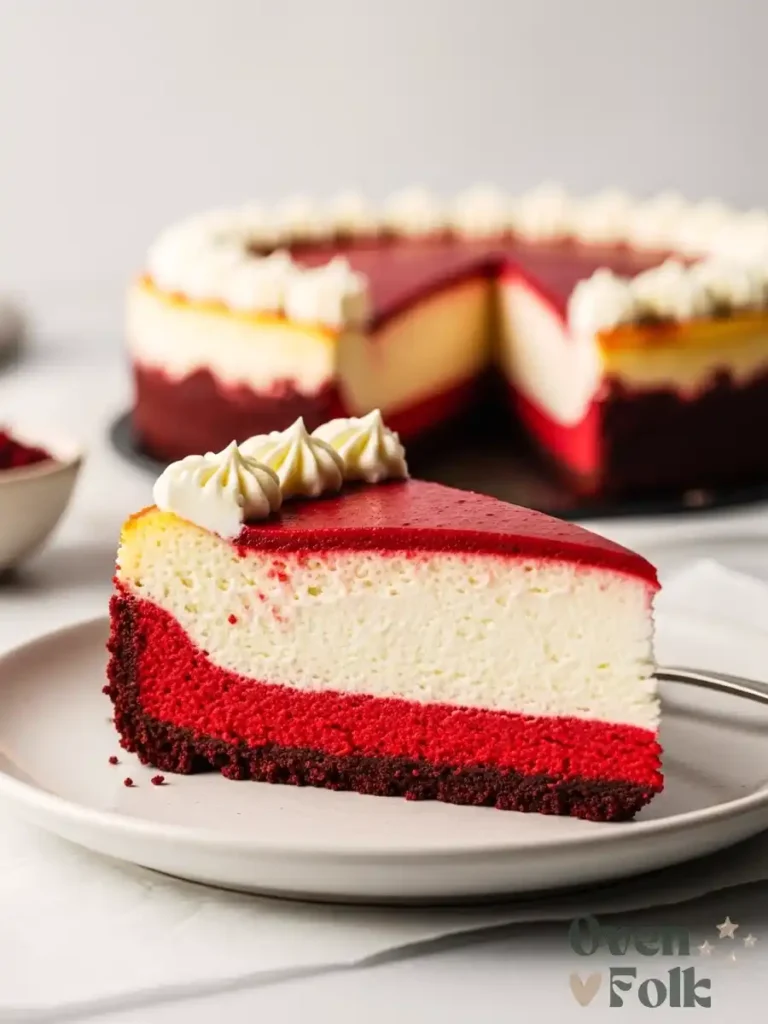
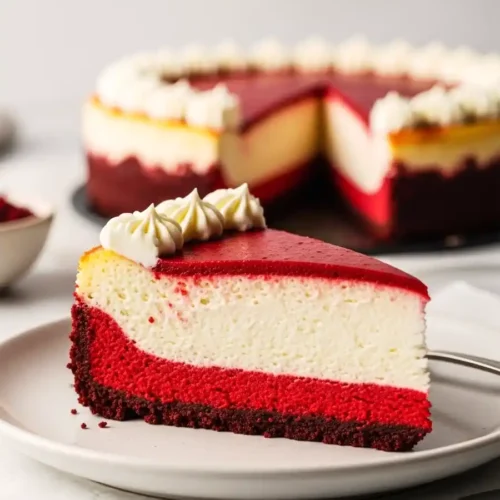
Imagine your fork gliding through a layer of velvety, cocoa-infused crimson cheesecake, meeting a salty-sweet graham cracker crust, and finishing with a tangy New York-style swirl. It’s the ultimate “showstopper” dessert that looks like it came from a professional bakery case.
As a busy mom, the words “water bath” usually make me want to close the recipe immediately. Who has time to wrap a pan in three layers of foil only for it to leak anyway? That’s why I developed the “Slow-Set Method.” We’re ditching the water bath entirely. Using a specific cooling technique, you’ll get a perfectly flat, crack-free cheesecake that is dense, rich, and ridiculously easy. Let’s get you that “pro-baker” credit without the 4-hour kitchen marathon.
At-A-Glance
- Dietary: Vegetarian
- Time: 70 Minutes (plus chilling)
- Difficulty: Intermediate (Made Easy)
- Cost per serving: $1.25
Why This Recipe Works (The “Slow-Set” Secret)
Most cheesecakes crack because of a sudden change in temperature. When you pull a hot cake into a cool kitchen, the center shrinks faster than the edges, and—snap—you have a canyon down the middle. My “Slow-Set Method” uses the residual heat of the oven to finish the cake gently.
By turning off the oven while the center is still “jiggly” and cracking the door, we allow the cheesecake to firm up at a snail’s pace. This eliminates the need for a messy water bath. Additionally, we use Gel Food Coloring rather than liquid. Liquid dye can thin out the batter and mess with the cream cheese emulsion, but gel gives us that “Red Velvet” crimson without changing the texture.
Key Ingredients & Notes
- 16 oz (450g) Full-Fat Cream Cheese: Chef’s Tip: It MUST be room temperature. If it’s cold, you will have tiny white lumps in your red batter that look like polka dots.
- 1/2 cup (120ml) Buttermilk: This provides the signature “tang” that makes it Red Velvet and not just red-colored chocolate.
- 1 tbsp Americolor Super Red Gel Paste: Gel is the “Pro Secret.” It’s highly concentrated, so you get a vibrant red without adding excess liquid to the batter.
- 1 tbsp Unsweetened Cocoa Powder: Use a high-quality cocoa for that hint of chocolate.
- 1.5 cups Graham Cracker Crumbs: For the classic salty-sweet base.
Equipment Needed
- 9-inch Leak-Proof Springform Pan
- Americolor Gel Paste (Super Red)
- Electric Hand Mixer
- Rubber Spatula
Step-by-Step Instructions
Step 1: The “No-Nonsense” Crust. Preheat your oven to 325°F (165°C). Mix your graham cracker crumbs with 1/2 cup melted butter. Press it into the bottom of your springform pan. Expert Tip: Use the bottom of a flat measuring cup to pack it down tight so it doesn’t crumble when you slice it!
Step 2: The Creamy Base. Beat the softened cream cheese and 1 cup sugar until smooth. Add 2 room-temperature eggs, one at a time. Stop mixing the second the yellow disappears. Over-mixing at this stage adds air bubbles that cause the cake to puff up and then sink (and crack).
Step 3: The Red Velvet Transformation. Take 1 cup of that white batter and put it in a separate bowl. Whisk in the buttermilk, cocoa powder, vanilla, and red gel food coloring. It will look like liquid velvet.
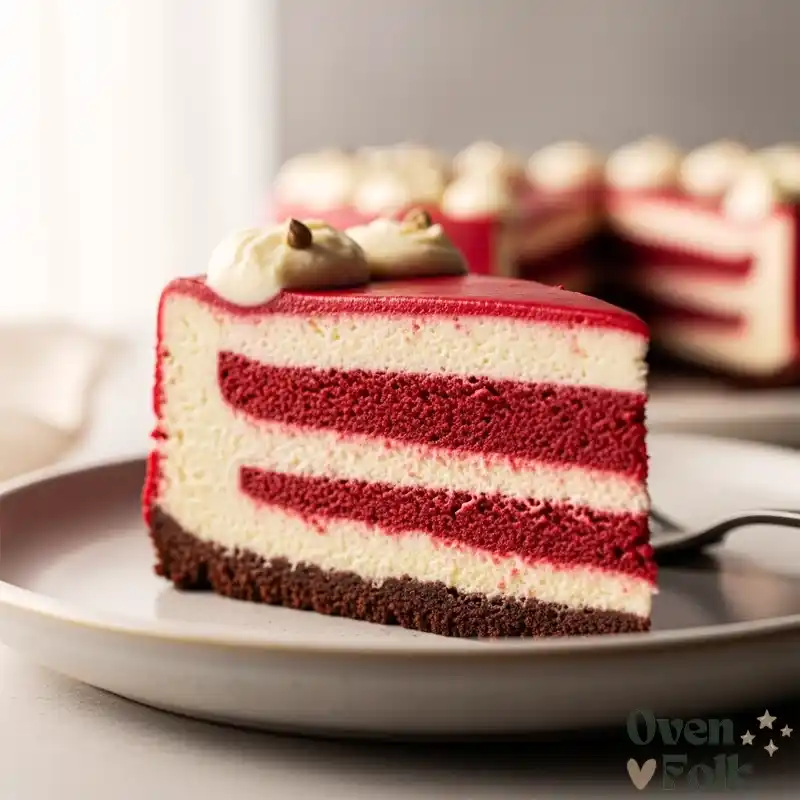
Step 4: The Swirl. Pour the red batter over the crust. Drop large dollops of the remaining white batter on top. Use a butter knife to gently swirl them together. Don’t over-swirl! You want distinct ribbons of red and white, not a pink blob.
Step 5: The Slow-Set Bake. Bake for 45-50 minutes. The edges should be firm, but the center 2 inches should still jiggle like Jell-O. Turn off the oven. Crack the door open 2 inches and let it sit there for 30 minutes. This slow cool-down is your insurance policy against cracks. Chill for at least 6 hours before serving.
Expert Tips
- Room Temp Everything: Set your eggs and cream cheese on the counter at least 2 hours before baking. Cold ingredients are the #1 cause of grainy cheesecake.
- The Clean Slice: To get those perfect, “bakery-style” slices, dip your knife in hot water and wipe it clean between every single cut.
Variations / Substitutions
If you want individual portions, this recipe works perfectly in a muffin tin! Just line with paper liners and reduce the bake time to 22 minutes. If you’re a fan of chocolate crusts, swap the graham crackers for crushed Oreo cookies.
FAQ
Why is my cheesecake grainy?
This usually happens if the cream cheese wasn’t fully softened or if you over-beat the eggs. Make sure that base is “velvet smooth” before the eggs go in.
Do I really not need a water bath?
With the “Slow-Set” cooling method, no! The water bath’s job is to regulate temperature. By cooling the cake inside the warm oven, we achieve the same result without the risk of a soggy crust.
Can I use liquid food coloring?
You can, but you will need much more of it, and it can make the red layer slightly thinner than the white layer, which makes the swirling less defined.
Red Velvet Cheesecake
Equipment
- 9-inch Springform Pan
- Electric Mixer
- Mixing bowls
Ingredients
- 1.5 cups Graham Cracker Crumbs
- 0.5 cup Unsalted Butter
- 16 oz Cream Cheese
- 1 cup Granulated Sugar
- 2 Large Eggs
- 1 tsp Vanilla Extract
- 0.5 cup Buttermilk
- 1 tbsp Cocoa Powder
- 1 tbsp Red Food Coloring
Instructions
- Preheat oven to 325°F and grease a 9-inch springform pan.
- Combine graham cracker crumbs and melted butter; press into the bottom of the pan.
- Beat cream cheese and sugar until smooth. Add eggs one at a time.
- Divide batter and mix cocoa, buttermilk, and food coloring into one third.
- Layer and swirl the batters together in the pan.
- Bake for 50 minutes, then cool slowly in the oven with the door cracked.
Notes